
If you're looking for an all-in-one solution that integrates with all of your other business tools, consider Facebook Messenger. It is also one of the most popular messaging apps globally, and it has a lot of marketing potential. Its user base is one of the largest among social networks.
And the best part- it's free, easy to set up, and can be customised to fit your business' needs. You can customise the greeting message, choose the colour of the widget, and set a custom avatar.
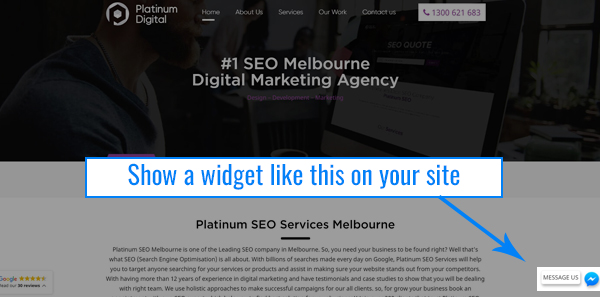
The Facebook Messenger plugin for WordPress is an easy way to connect your website with your Facebook page and enable your visitors to chat directly with you through the popular Facebook Messenger app.
When you connect Facebook Messenger to your website, a little pop-up widget will appear on the lower left-hand side of any page on your website. It doesn't get in the way or block content, but it does make it easy for people to start chatting with your business when they have questions about what you sell.
You can easily create your widget in a few simple clicks and start chatting with your visitors instantly!
A list of benefits associated with it:
- It's absolutely FREE of cost!
- Facebook Messenger has over 1.3 billion monthly users and is growing rapidly.
- Most of your customers are already on Facebook and the Messenger app.
- You can send automated messages to people who didn't reply to your initial message - great for the follow-up!
- It's easy to install - just copy and paste a few lines of code into your website's HTML, and it works instantly!
What it comes down to is this: the Messenger website chat widget from Facebook is an effective and simple way of making it easy and convenient for your site visitors to interact with you. The widget is unobtrusive, looks professional in appearance, and offers a service that is simply an improvement of your current contact form. With additional features such as sending images and location information, there is plenty to be gained by deploying this plugin both on your blog or website and on your business's Facebook page (if you maintain one.)
Proceed